New MYOG Pack Post

 My pack took quite a beating through the Arizona Desert and Minnesota north woods last year. It held up very well, but I wanted a backup "just in case". So, I ordered a new kit of materials from Quest Outfitters and made a nice green version this time.
For my needs, this pack is just great. The raw materials weighed 26 ounces and the final pack weighs 15.6 ounces. It easily holds all my gear and food for a week, and is comfortable. Quest Outfitters will sell you the materials as a kit and the plans with detailed instructions so you can make your own.

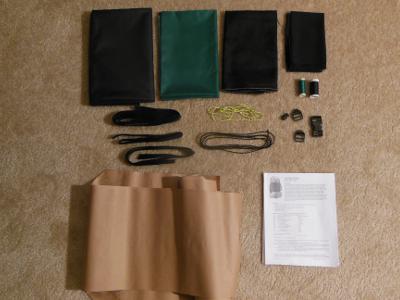
 The kit contains ripstop nylon for the pack body, stronger cordora for the parts that rub more, thick mesh for pockets, and fine mesh to make a sleeve to slip in a blue foam back support. There are also all the thread, buckles, velcro, gosgrain, elastic cord, and every little thing needed for your pack.
I had ordered the instructions and template last year, so I just reused them. I copied teh template pieces to brown paper as soon as I got them and use those rather than cutting up the original.

 The first step was to read through ALL the instructions to get an idea of how it all goes together. There are a couple mistakes in the instructions, I believe, and I've let Quest know abou them. They are minor.
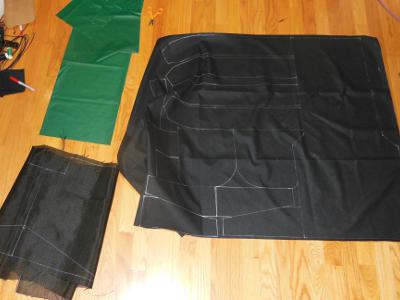
Trace all the pieces onto the fabric. I laid them out as tight as possible to save fabric which I might use for some other projects. Quest provides plenty of fabric.
It's important to check that you are drawing on the 'back' side of the fabric so your marks don't show on the finished piece. And, ensuring that you are laying right and left oriented pieces for shoulder straps, belts, and the like is critical.

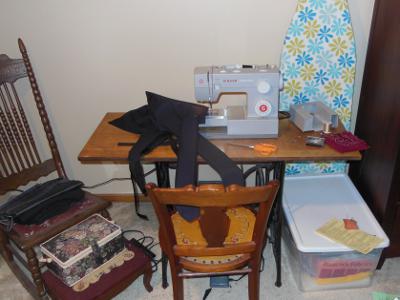
 Having a comfortable area in which to work really helps. Here's where all the magic happens! :-)
 Actually, a bright halogen floor lamp was a big help to keep the area brightly lit. It helped me find dropped pins in the carpet, too.
This is our new sewing machine since I broke our old, old, old one last year making my first pack. It wasn't my fault - a plastic gear inside just gave way, and replacing it didn't work out.

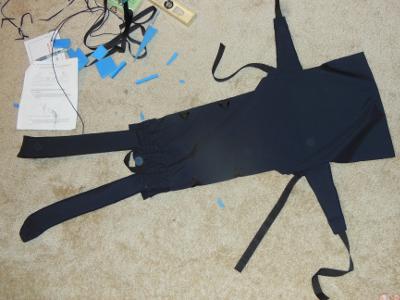
 The pack is built in sections. Here's the back section with shoulder straps and waistbelt. It is the most complicated part, and the most difficult to sew. After this, it gets pretty easy.
The front, right side, and left side are made. Then, all the parts are sewn together.
I made a few modifications from the original pack:
- I left off the back support sleeve since I plan to just slip a piece of cardboard inside the pack.
- I did not add the optional top cover since I'll have a rain poncho that covers me and the pack.
- I angled the side pockets so the fronts are a bit lower, letting my reach back with my hand and get in the pocket.
- I added little water bottle straps to the front shoulder straps so I have two bottles in front, balancing the weight and easy to access.
Well, for about $40 and two days of sewing, I'm happy with my MYOG pack. Hopefully, I won't need to use it until next year, but it's ready to go!
MYOG = Make Your Own Gear
Hike On
Posted: 13:23 07-29-2013 971
Prev: Rest Stops
Next: Papa Bear ArrivesSite Disclosure Statement
Next: Papa Bear Arrives
archives: 2025 2024 2023 2022 2021 2020 2019 2018 2017 2016 2015 2014 2013 2012 2011
Find more Hiking Resources at www.HikingDude.com


Follow Me
Recent Comments